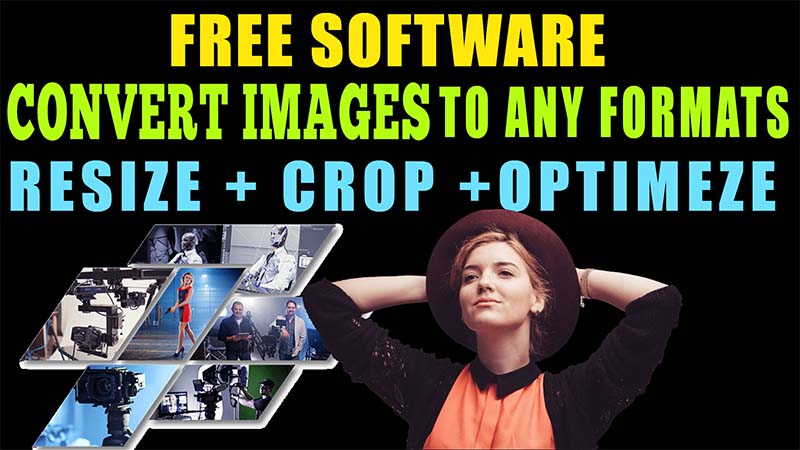
Recently most of internet & digital marketers use image for most of their online projects.
Mostly all images need to have in different formats, different sizing, Cropping,
some images required to add watermarks and of course most images need to compress to reduces image file size to optimize,
So, images can load faster on the Web Pages.
in this video I will introduce a free software that does it all as I mentioned.
I will include details with a Link to Download this software for free in description below.
So, please watch the video to the end to get all step-by-step details
If you are new to my channel.
Please subscribe if you haven’t subscribed yet & hit the bell of notification,
———————————-0
SUBSCRIBE to WebJek: https://webjek.com/Subscribe
so, you will be notified first as soon as I upload a new video.
Download Pixillion Photo Converter
Purchase Pixillion Image Converter
———————————0
How to Convert image to any formats, Best Image Converter Software 2021, Pixillion,
WebJek, Image Converter, image formats, Pixillion Image Converter Software,
Convert JPG, PNG, GIF, NEF, ICO, RAW, HEIC, PDF formats,
JPEG, JPG, PNG, GIF, BMP, ICO, PSD, SVG, TGA, TIF, PPM, RAW, PGF, RAF, WMF, EMF, HEIC, PDF, DNG, CR2 and many more image formats,
Free Download, Supported Image File Formats, Download Pixillion JPEG Converter, Download Pixillion Image Converter for Windows,
This video will show you how to resize a picture in Pixillion.
Easy Image Conversion, Convert Images To any file format as needed
Pixillion is one of the most stable, easy-to-use, and comprehensive multi-format image file converters available.
Rotate, resize and compress digital photos
Easily add captions or watermarks to your images
Resizing a picture with Pixillion is a quick and easy process.
To resize a picture, simply open your image into Pixillion and set your output destination and format. Click on the resize button to launch the effects window and choose how you would like to scale your image.
Select any additional effects that you wish to apply. When you are finished click OK.
Select the image or images that you would like to apply your settings to and then click the Convert button.
Your resized images will now appear in your chosen output location.
How to use Pixillion
This is an overview of how to use Pixillion to convert your files from one format to another.
Keep in mind that Pixillion is designed to learn from you as you go. It will remember your
settings from each time you convert so that repeated tasks are faster for you.
Adding and Removing Files
To convert your image files into the desired format, begin by adding files into the file list
window. Either click the Add File(s) button, or select File -> Add File(s) from the menu. You
may also click the Add Folder button to add all image files contained in the specified folder.
Once your files have been added, if you wish to remove any of them, select the files and
either click the Remove button, or select File -> Remove Selected File(s) from the menu.
To select multiple files at once, press the Ctrl key and left-click on the files you want to
select. To highlight all the files, either select File -> Select All from the menu, or press Ctrl +
Selecting an Output Folder
Near the bottom of the main window, there is a field labeled Output folder, where you can
specify the file directory where converted files will be stored. You can either type in the
desired folder, or you can click the Browse button below the field. Doing so will bring up a
window where you can browse for the destination directory on your hard drive. The last
several directories you have chosen in the past are stored in a drop-down list, and can be
accessed by clicking the arrow on the right edge of the text field.
Selecting an Output Format
The field labeled Output Format is where you can select the desired output file format for your files.
If the selected codec has adjustable options, by clicking the Compression Settings… or Encoder Settings… button, a dialog will appear detailing the options you can change.
The following image codecs have adjustable options:
- BMP
- ICO
- JPEG
- JPEG XR
- JPEG 2000
- PGF
- PNG
- PNM
- TIFF
- WMF
- WEBP
Adjusting Output Effects
Click the Effects button to adjust settings that affect the appearance of the converted
image, such as resizing, rotation, text, and watermarking (see Image Effects for more
details).
Converting Files
Once you have set the output folder and format, you can then select the files from the list
you want to convert, and either click the Convert button, or select File -> Convert from the
menu. If you click the Convert button without any files selected, all files in the list will be
converted by default. Any effects, options, output settings or list changes that occur during a
conversion will affect future conversions and not the existing conversion.
Note: Pixillion will stop your computer going to sleep during conversion. At the end of
conversion your normal computer sleep timer will sleep the computer as required after the
period of no activity.
Resizing Files
You can do batch resizing image files with Pixillion by combining functions of Adjusting
Output Effects and Converting Files. Make sure you select the output format as the
same with the input format. Click the Resize button from the toolbar. Set your resize
options for output images (see Image Effects for more details). When finish setting, click on
button to back to the main screen and click Convert button to produce resized images.
Alternatively, you can do resizing via Scale options of the Adjusting Output Effects dialog.
Combine Files
You can select File -> Combine images from the menu to combine all selected images to a
single TIFF, PDF or DOCX. You can rearrange the order of the images in the
Combine Images dialog. Note: Only when you select 2 files or more in the list and set TIFF,
PDF or DOCX as the output format, the menu Combine images… will be enabled.
Failed Conversions
The conversion status column in the image file list will report success, failure or which
images are queued for the current conversion.
If images fail with a “Save failed” message, then you might need to specify an alternative
output folder.
“Load failed” messages will occur if Pixillion determines that the image is either corrupt or is
actually, a different file format disguised as an image.
If a conversion has a status of “Skipped”, then Pixillion aborted conversion on that image
because an existing image of the same name already exists (see Program
Options/Preferences for more details).
Preview File
You can preview the selected image in a new window by double clicking it or selecting
“Preview selected image” in the context menu.
In the preview window, move the slider bar to change the zoom level or use shortcut
Ctrl + Mouse Wheel.
In the preview window, press the X button at the top right corner to close the window or use
shortcut Esc button.
Download Pixillion Photo Converter
Download Pixillion Image Converter for Windows
Download Pixillion Image Converter for Mac
Purchase Pixillion Image Converter
Purchase Pixillion online here
Image Converting System Requirements
Works on Windows 10, XP, Vista, 7, 8 and 8.1
Works on 64 bit Windows
Mac OS X 10.5 or above


